-
Home / Shop
4x10 Vented Skampcan
0 Reviews$24.95


- Description
- Specifications
- Customer Reviews (0)
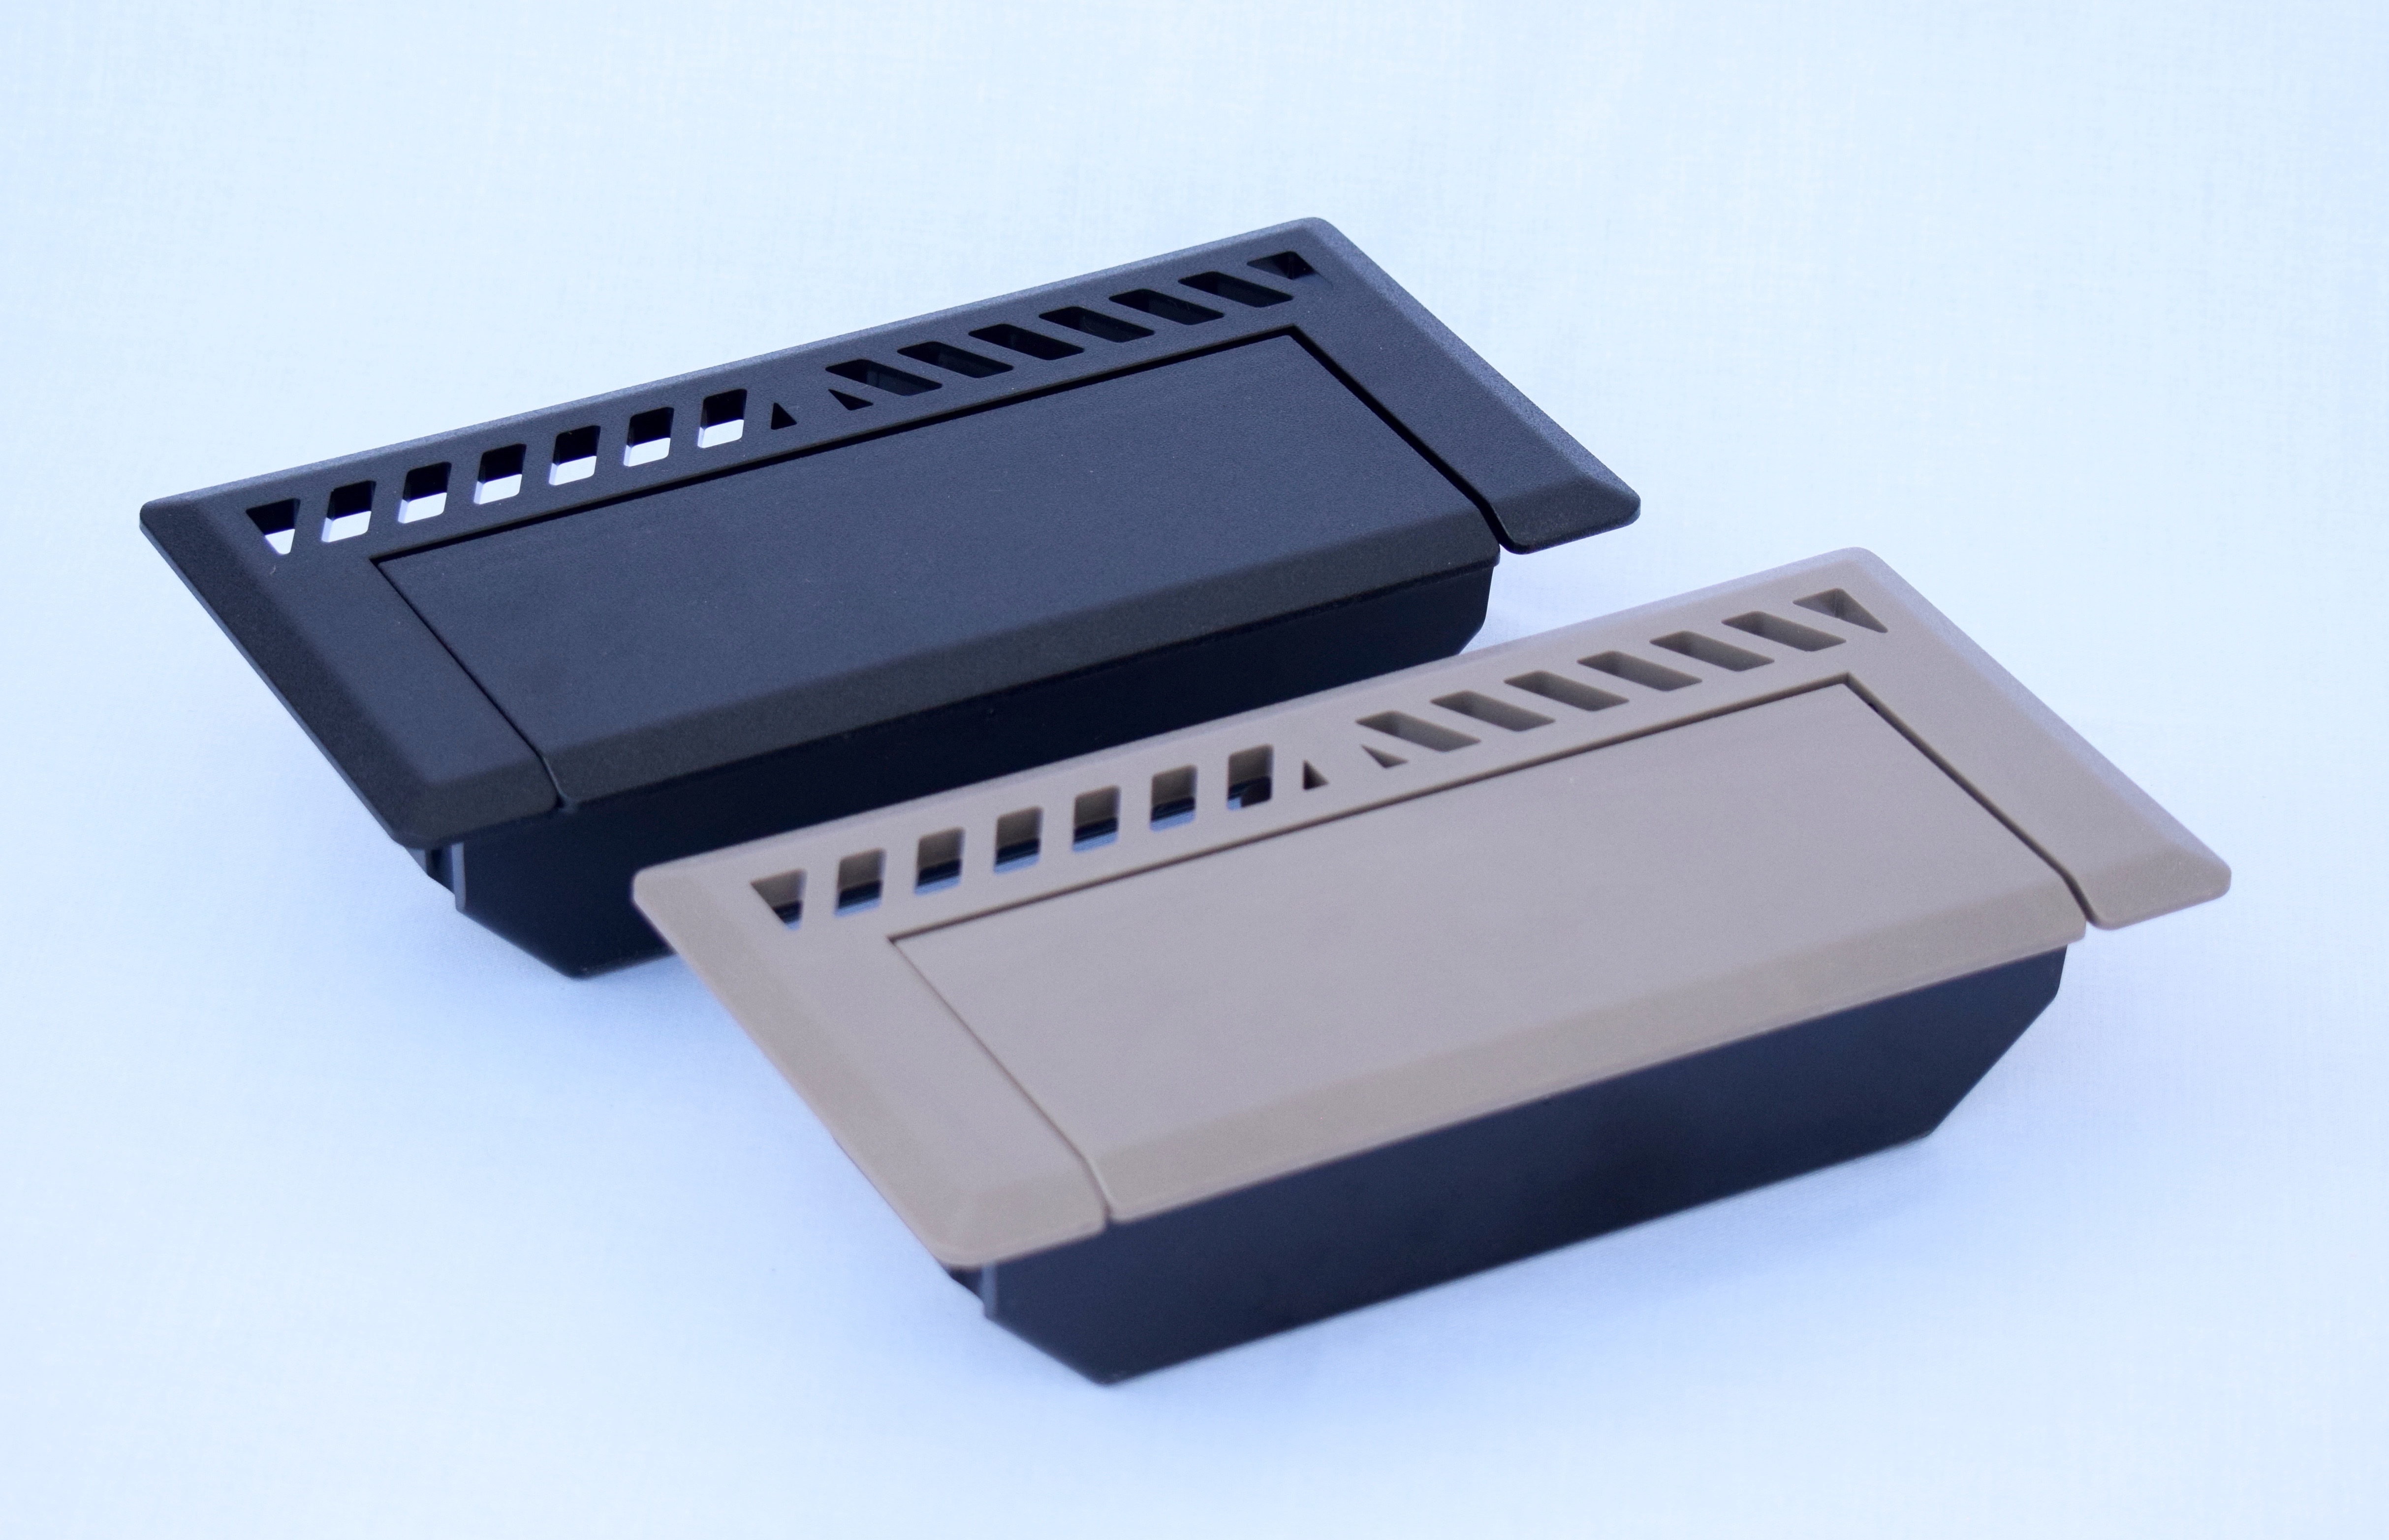
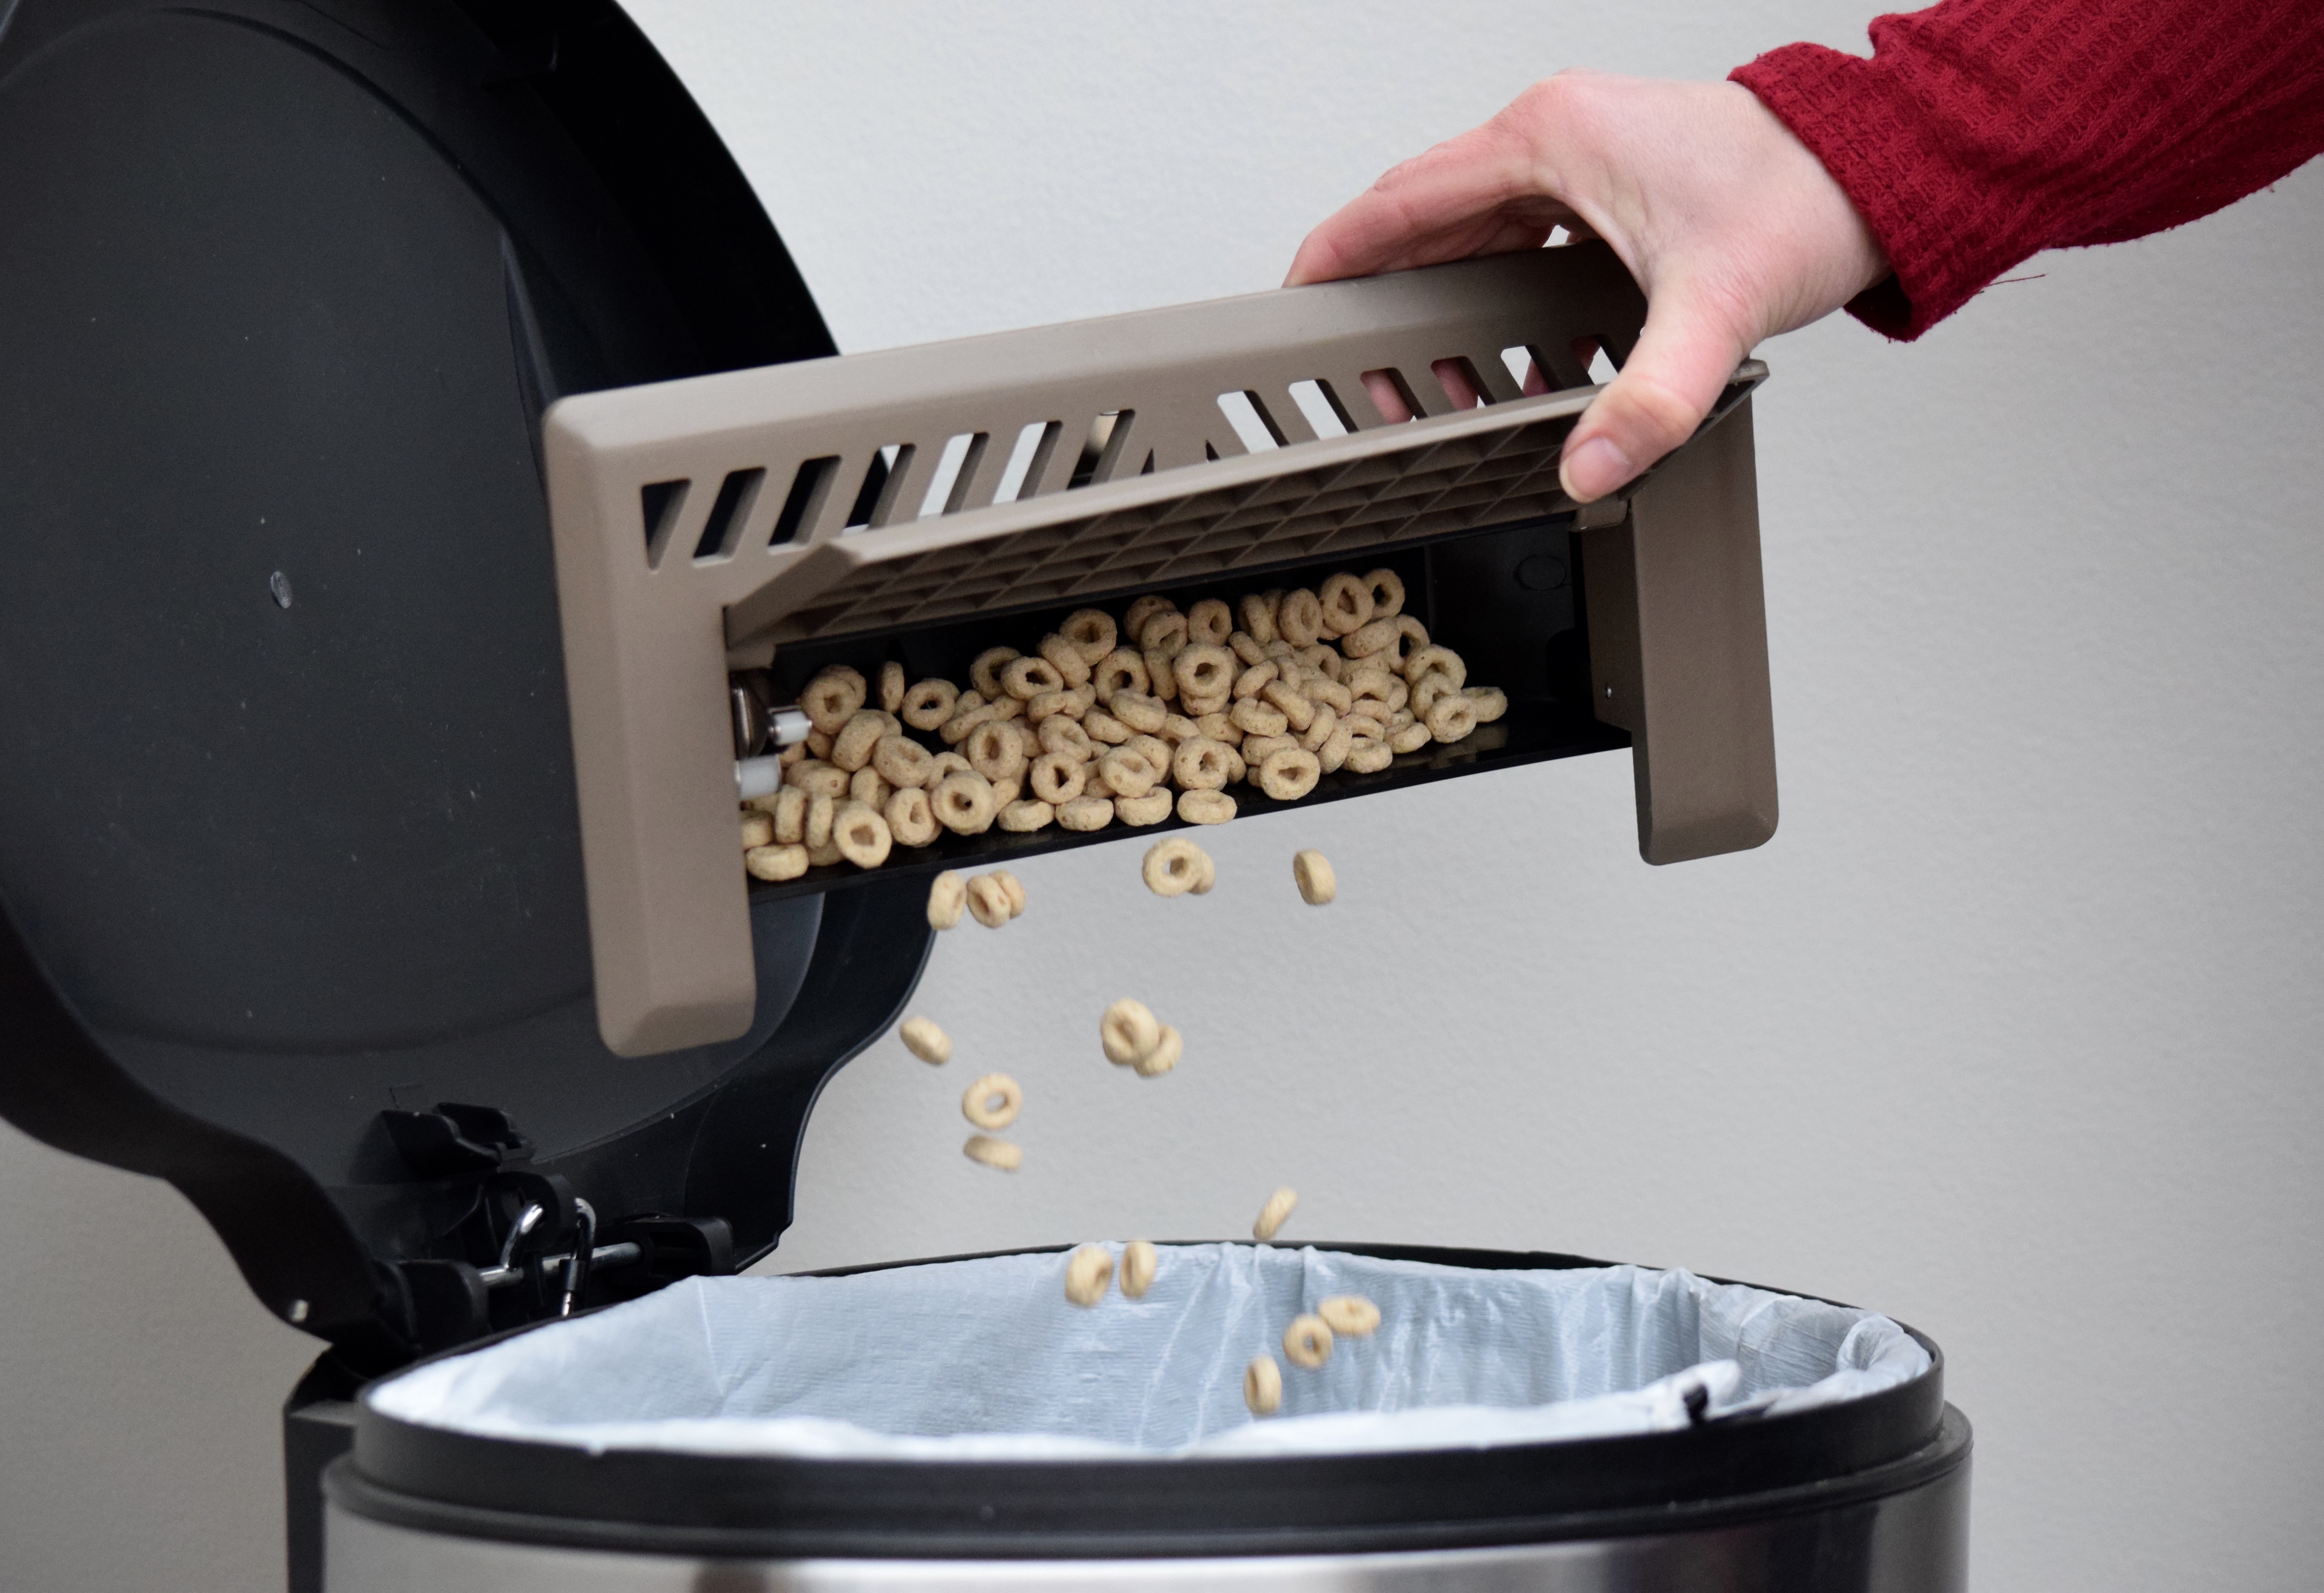
Forget the back-breaking work of sweeping and bending over! Just simply tap the corner of the lid with your foot and sweep your debris away! Never again do the “dust pan dance”, trying to get that last line of dust and debris that never seems to be able to be swept with a dustpan and broom—the Skampcan has no obstructions and allows every last speck of debris to fall effortlessly into the container! With a Skampcan, you simply step on the lid to open, sweep dust and debris from your floor into the container, step again on the lid to close, and remove the can to empty it when full. Our product is ideal for all ages, especially for elderly adults or individuals with impaired mobility like when bending down to sweep. The Skampcan is perfect for use in your kitchen, laundry room, mudroom, entry, pet area, workshop, work station, work bench, RV, camper, horse trailer, work trailer, or installed near fireplaces and wood stoves. Installation: Simply remove your existing 4x10 floor register, and insert your 4x10 Vented Skampcan and you are done! Emptying: Simply step on the lid to open, pull the Skampcan out of the HVAC boot, empty, then reinsert it back into the HVAC boot, and step on the lid to close. The Skampcan is an American-made product, produced by a family owned and operated business, and assembled in Indiana, USA. It’s environmentally friendly: with no need for chemicals and excessive waste, bags, refills, or even dustpans.
Disclaimers:
a) Skamp Containment Systems warrants the high quality of construction and performance of our systems to the extent of replacement of the system or refund of the purchase price if the device is found to be defective not caused by misuse. We cannot warrant or be responsible for damages, if any, caused by improper installation of the system. If you do not feel comfortable installing the Skampcan into the floor please contact a trusted handyman, contractor, or someone with knowledge and skills in the use of power tools and a general understanding of construction methods.
b) While there is not way we are able to know the condition of the heating systems off all of our customers or warrant their performance with the use of our vented system, we have had heating and cooling professionals look into this, and the decrease in air flow was found to be small and of negligible affect to the overall performance of the heating system we tested. Should you have concerns in this regard, consult your heating and air professional about back pressure air flow in your home or RV.
The Vented Skampcan is the most efficient model of our innovative products that you can install yourself. The Vented Skampcan was engineered for easy installation into an existing HVAC boot in your floor. The unique design allows the airflow from the HVAC system to be diverted, around and through the back of the Skampcan with minimal obstruction.
• Included in the box is one 10" black pieces of foil tape. The following instructions are to assist with the installation.
1. Remove the existing floor register and clean the edge of the flooring and HVAC boot.
2. Place the Skampcan into the HVAC boot, checking to see if the Skampcan fits securely against the front edge of the HVAC boot.
3. If your Skampcan needs adjusting, look to the back side of the Skampcan to find the metal retainer clip. The clip can be adjusted by bending it away from the can body being careful not to over bend it. This will result in a tighter fit.
4. With the Skampcan fitted into the HVAC boot, lightly mark the front and back edges where the Skampcan rests on the floor.
5. Remove the Skampcan.
6. Remove the paper backing from the black foil tape. Place tape on the back edge of
flooring being careful not to place the tape past the marks. If the tape goes beyond the marks it will be seen protruding from under the edge of the Skampcan. Smooth out the tape by pressing firmly and fold in remaining tape down into the HVAC boot. This will conceal the unfinished edge of flooring if seen through the louvers.
7. Inspect the floor edge in the front. If the cut edge of flooring is unacceptable trimming maybe required.
8. Simply drop Skampcan back in HVAC boot and it is now ready for use!
*Finish floor material may need to be trimmed or straightened as needed
** You can also visit skampcan.com to watch our installation videos. **Disclaimer:
(a) Skamp Containment Systems warrants the high quality of construction and performance of our systems to the extent of replacement of the system or refund of the purchase price if the device is found to be defective not caused by misuse. We cannot warrant or be responsible for damages, if any, caused by improper installation of the system. If you do not feel comfortable installing the Skampcan into the floor please contact a trusted handyman, contractor, or someone with knowledge and skills in the use of power tools and a general understanding of construction methods.
(b)While there is no way we are able to know the condition go the heating systems of all of our customers or warrant their performance with the use of our vented system, we have had heating an cooling professionals look into this, and the decrease in air flow was found to be small and of negligible affect to the overall performance of the heating system we tested. Should you have concerns in this regard, consult your heating and air professional about back pressure air flow in your home or RV.
There are no reviews yet, submit yours in the box provided.Submitting Your Review, Please WaitYour Review Has Been Submitted SuccessfullyAdd a review for 4x10 Vented Skampcan
You must include a title, rating, and message in your review.Your Review TitleYour RatingYour Review
Oops...
We're sorry but the page you're looking for is either deleted or renamed.
A proven, efficient containment system for your Home, RV, Camper or Business.......................Questions? Call 317.442.6699
U.S. Patent No. 9,745,759 U.S. Patent No. 9,611,093
2017 Skampcan |Designed By Hoosier Web Nerd

