-
Home / Shop
Skampcan
0 Reviews$24.95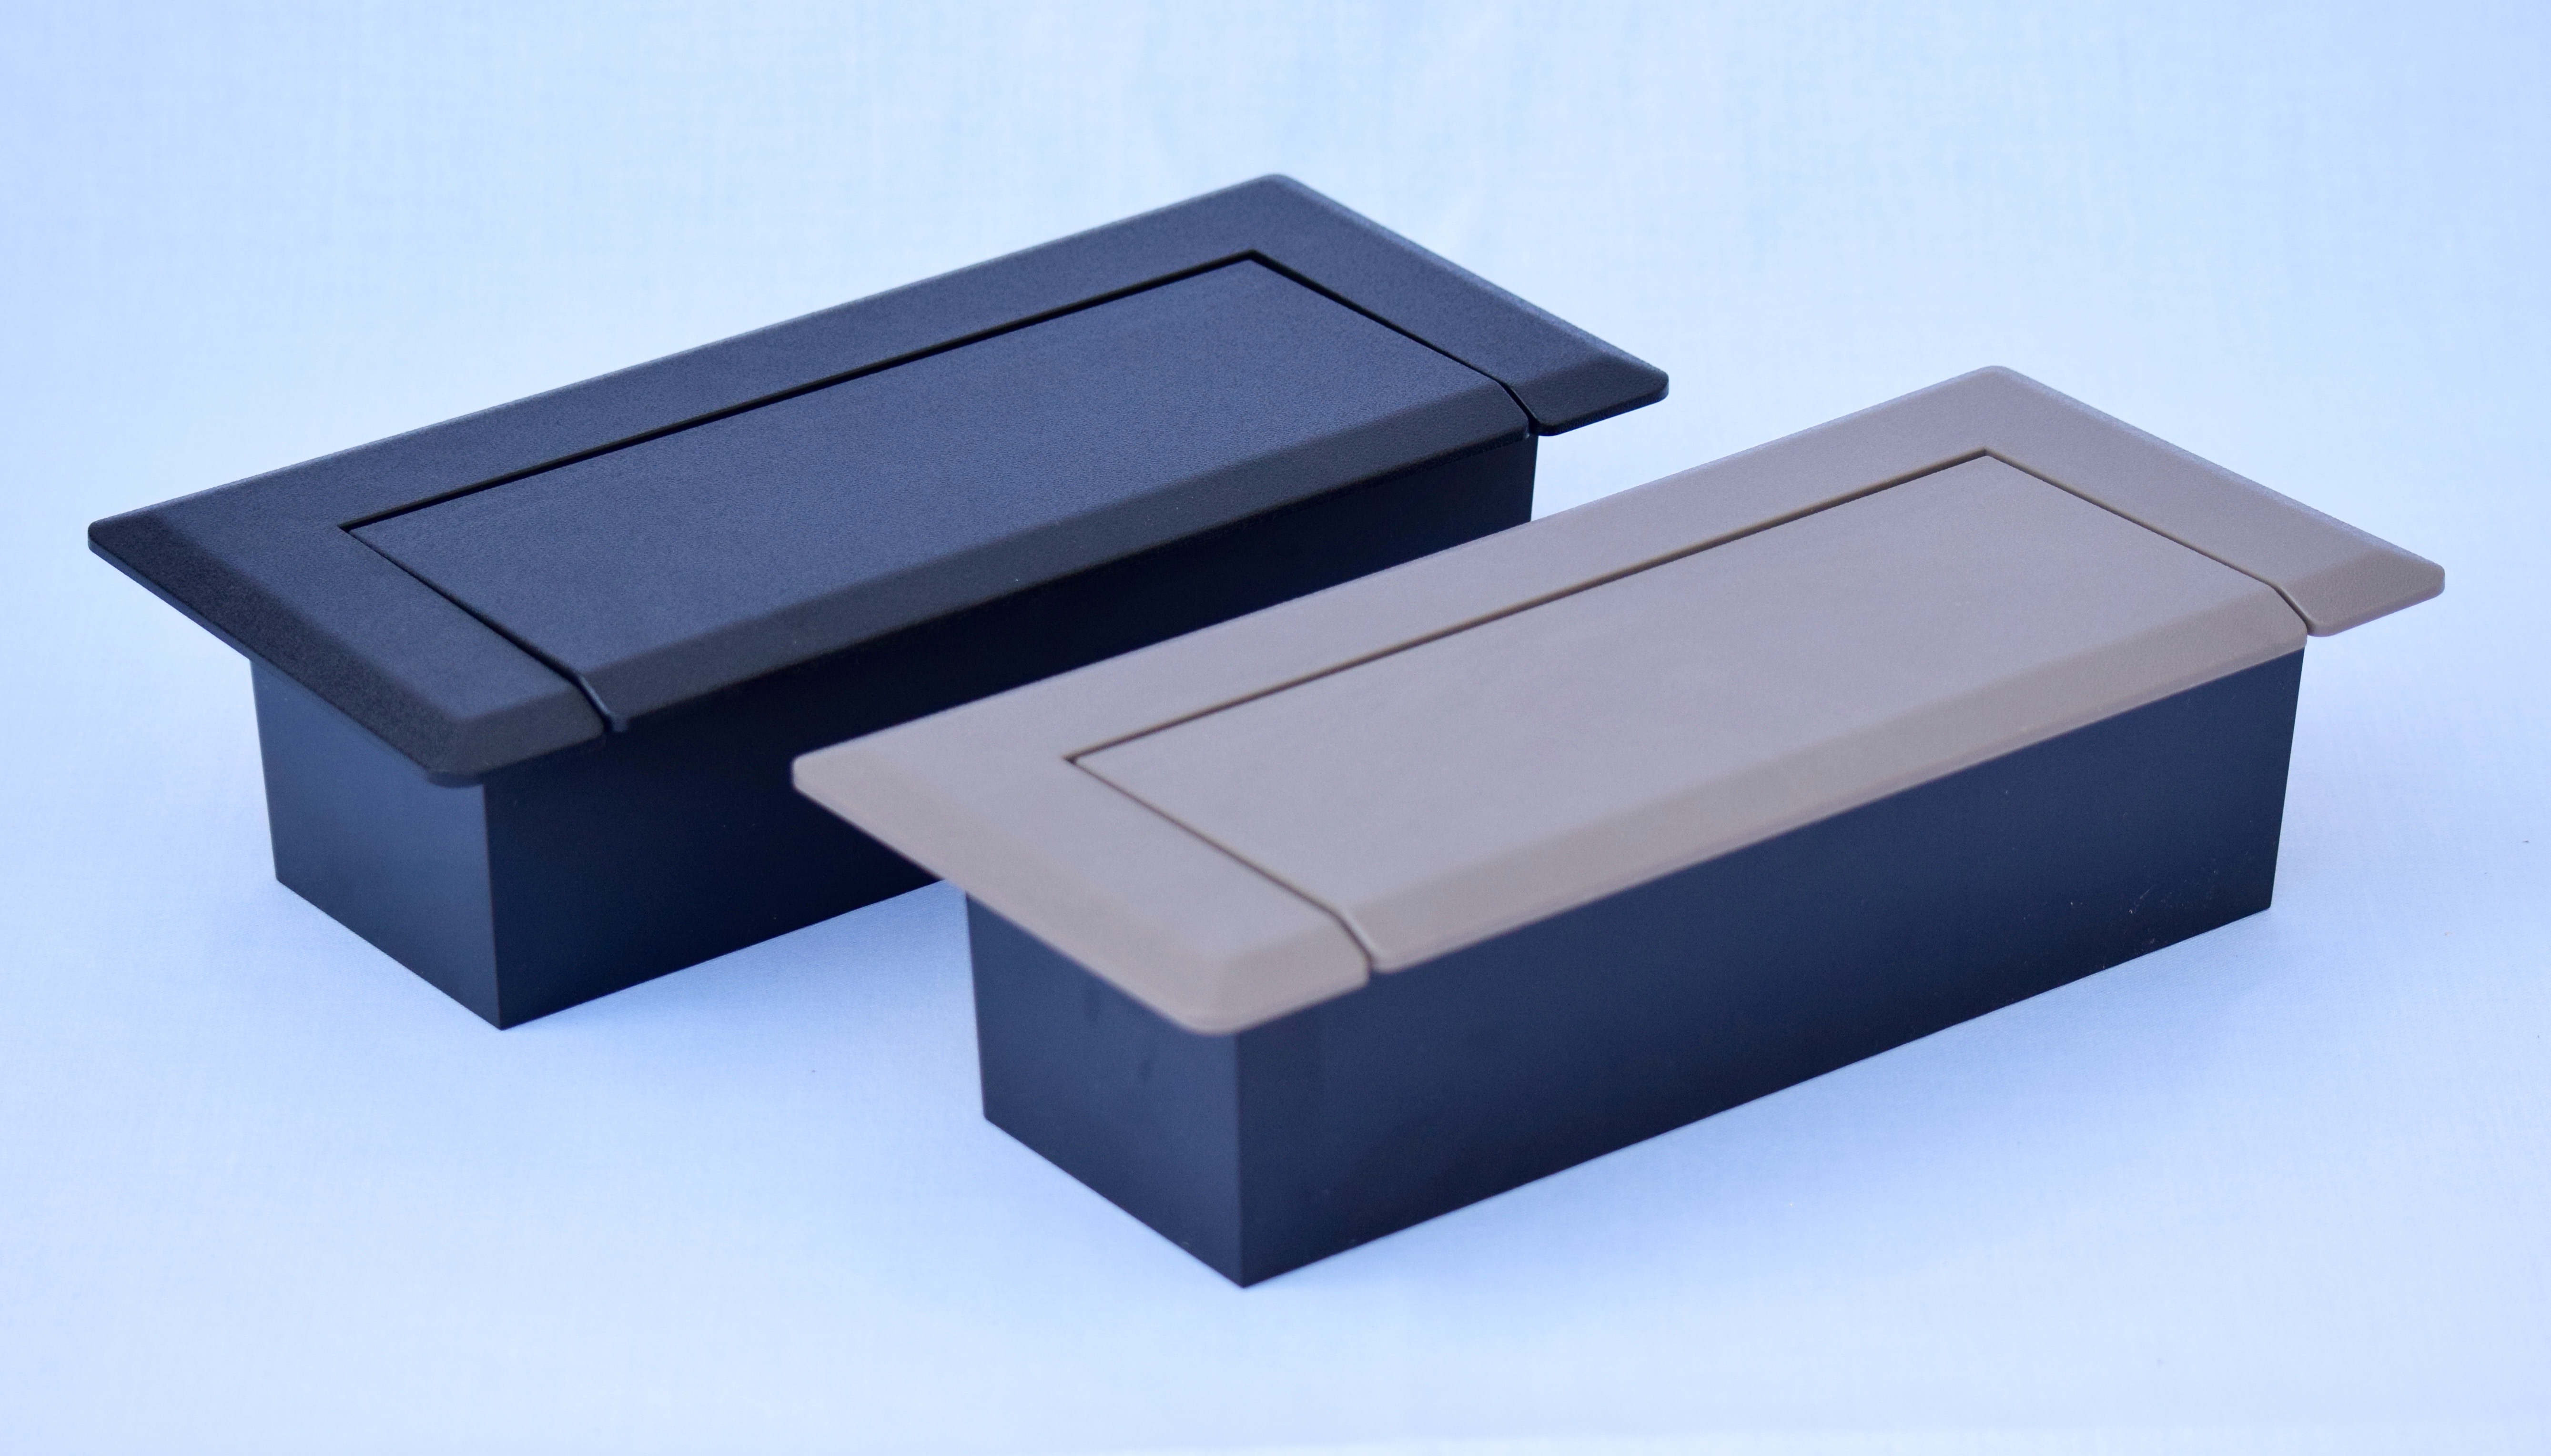



- Description
- Specifications
- Customer Reviews (0)
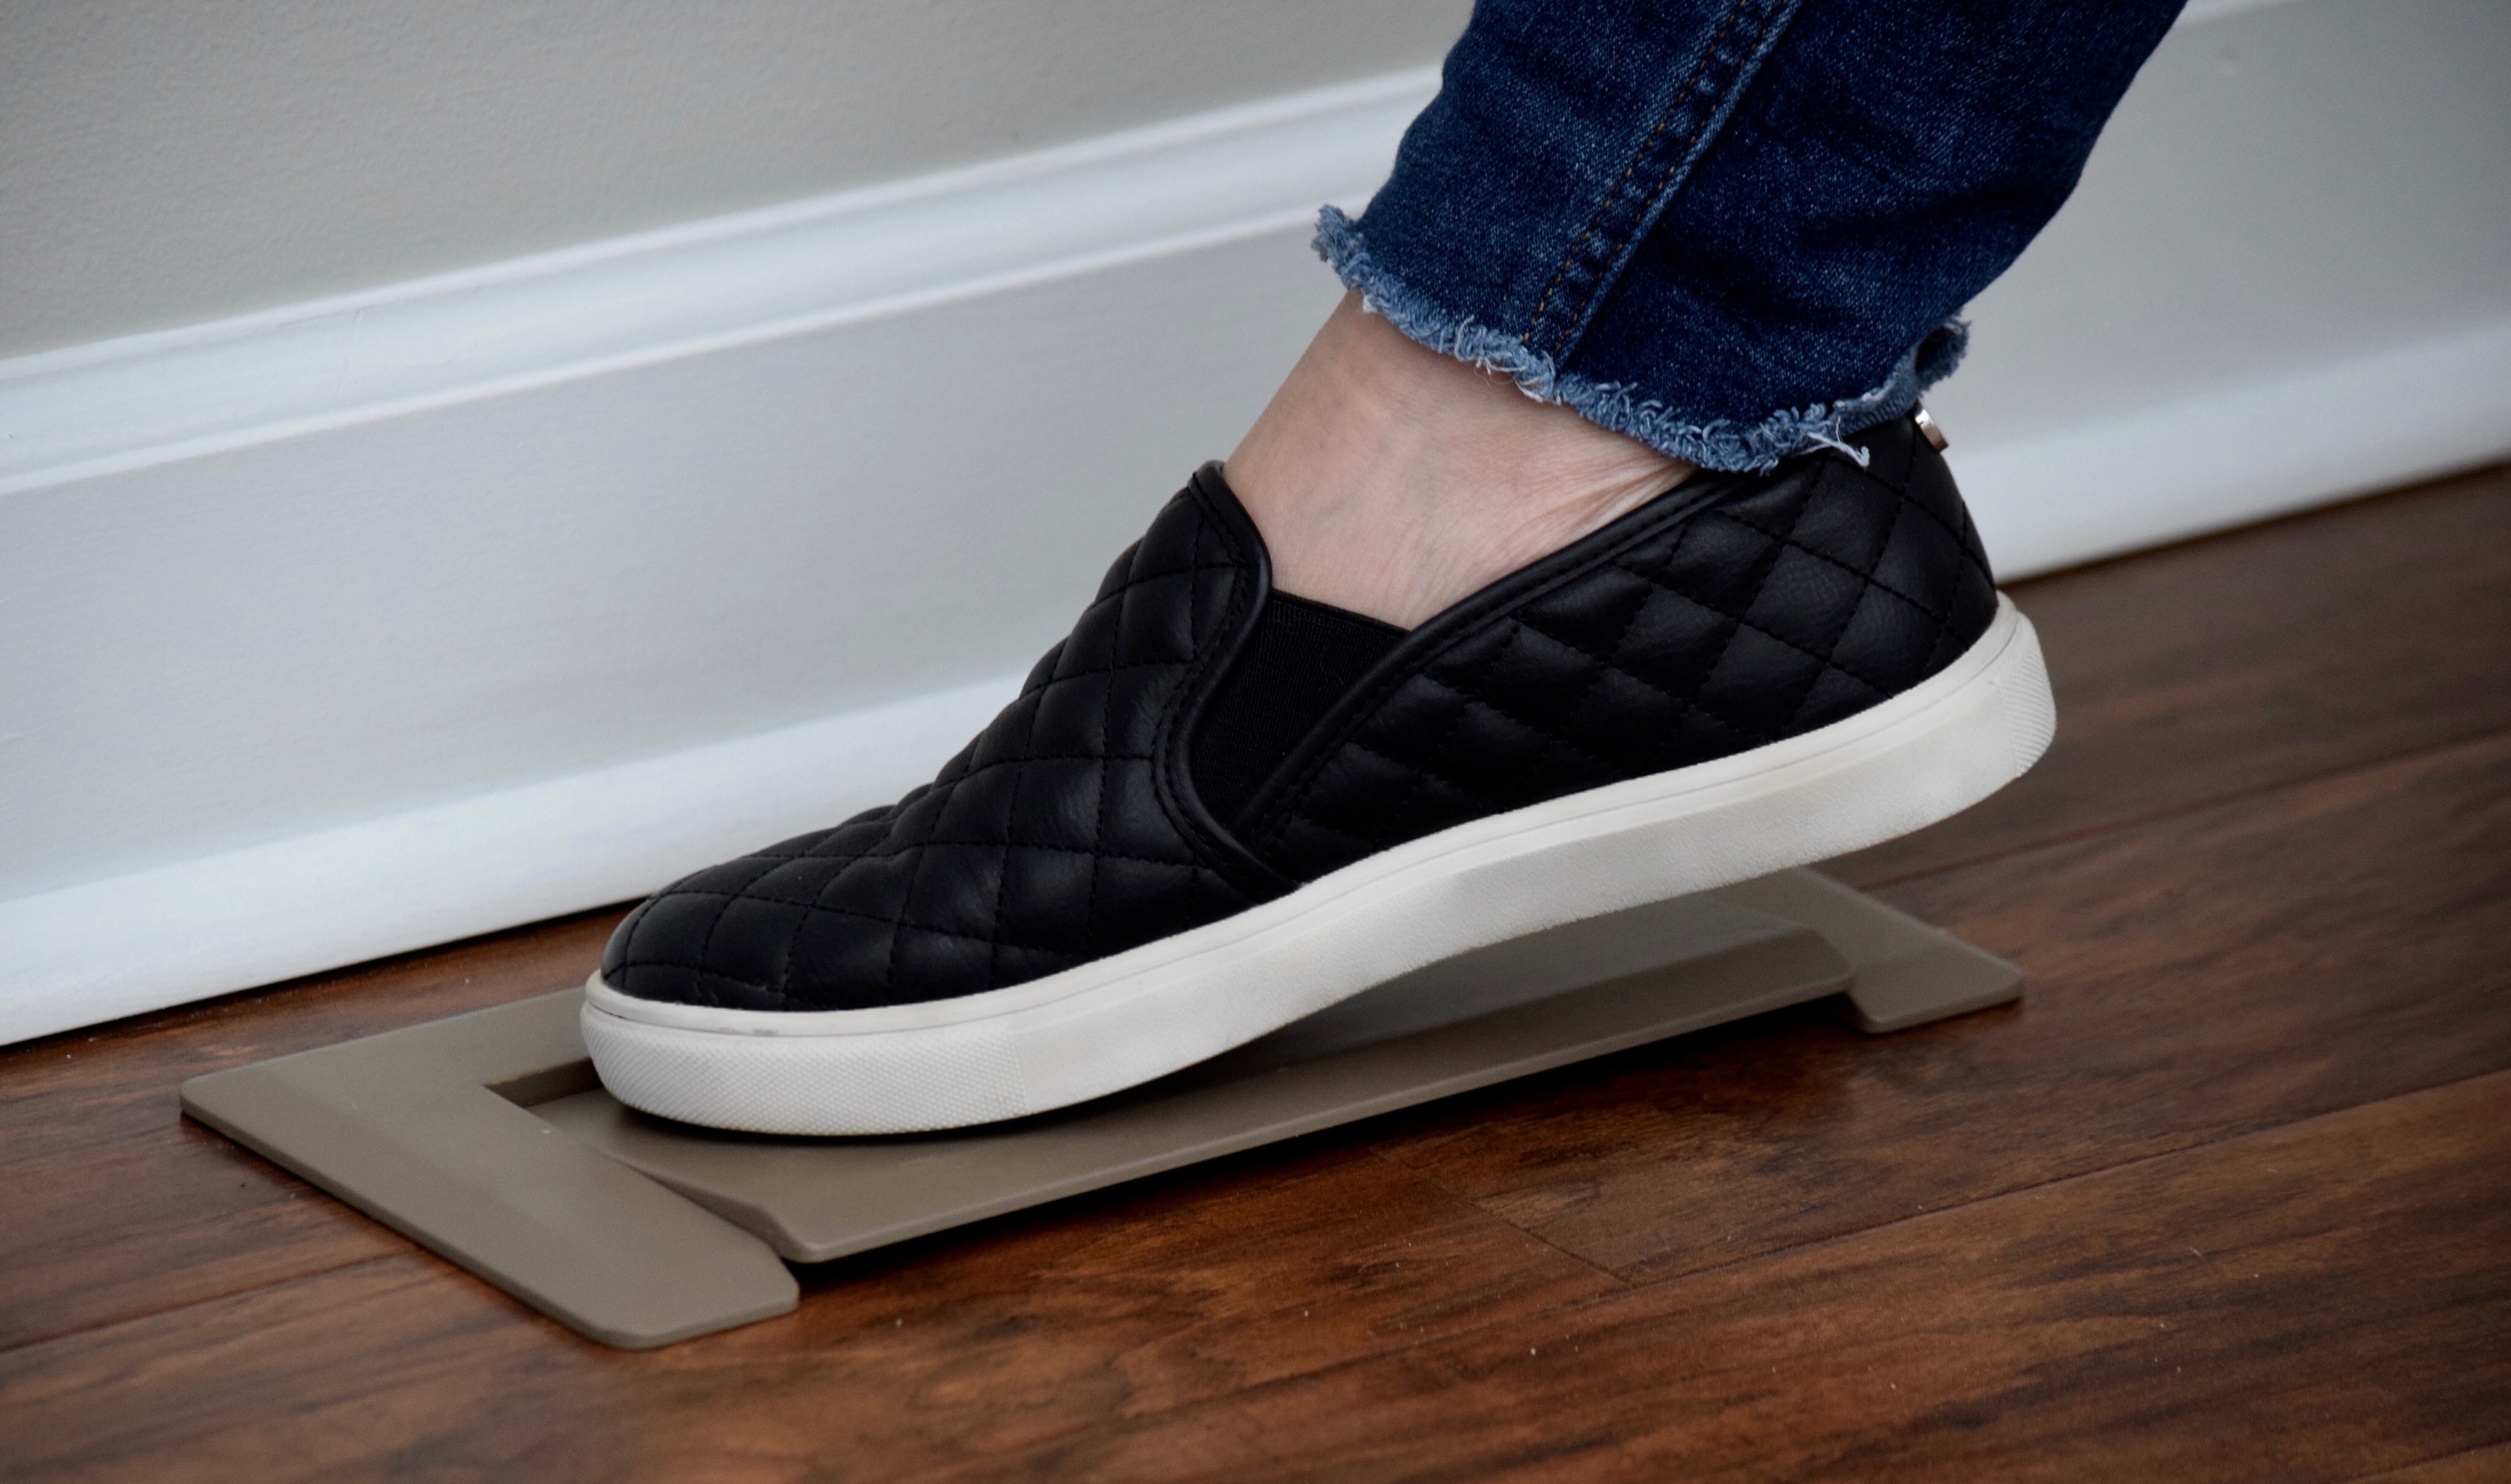
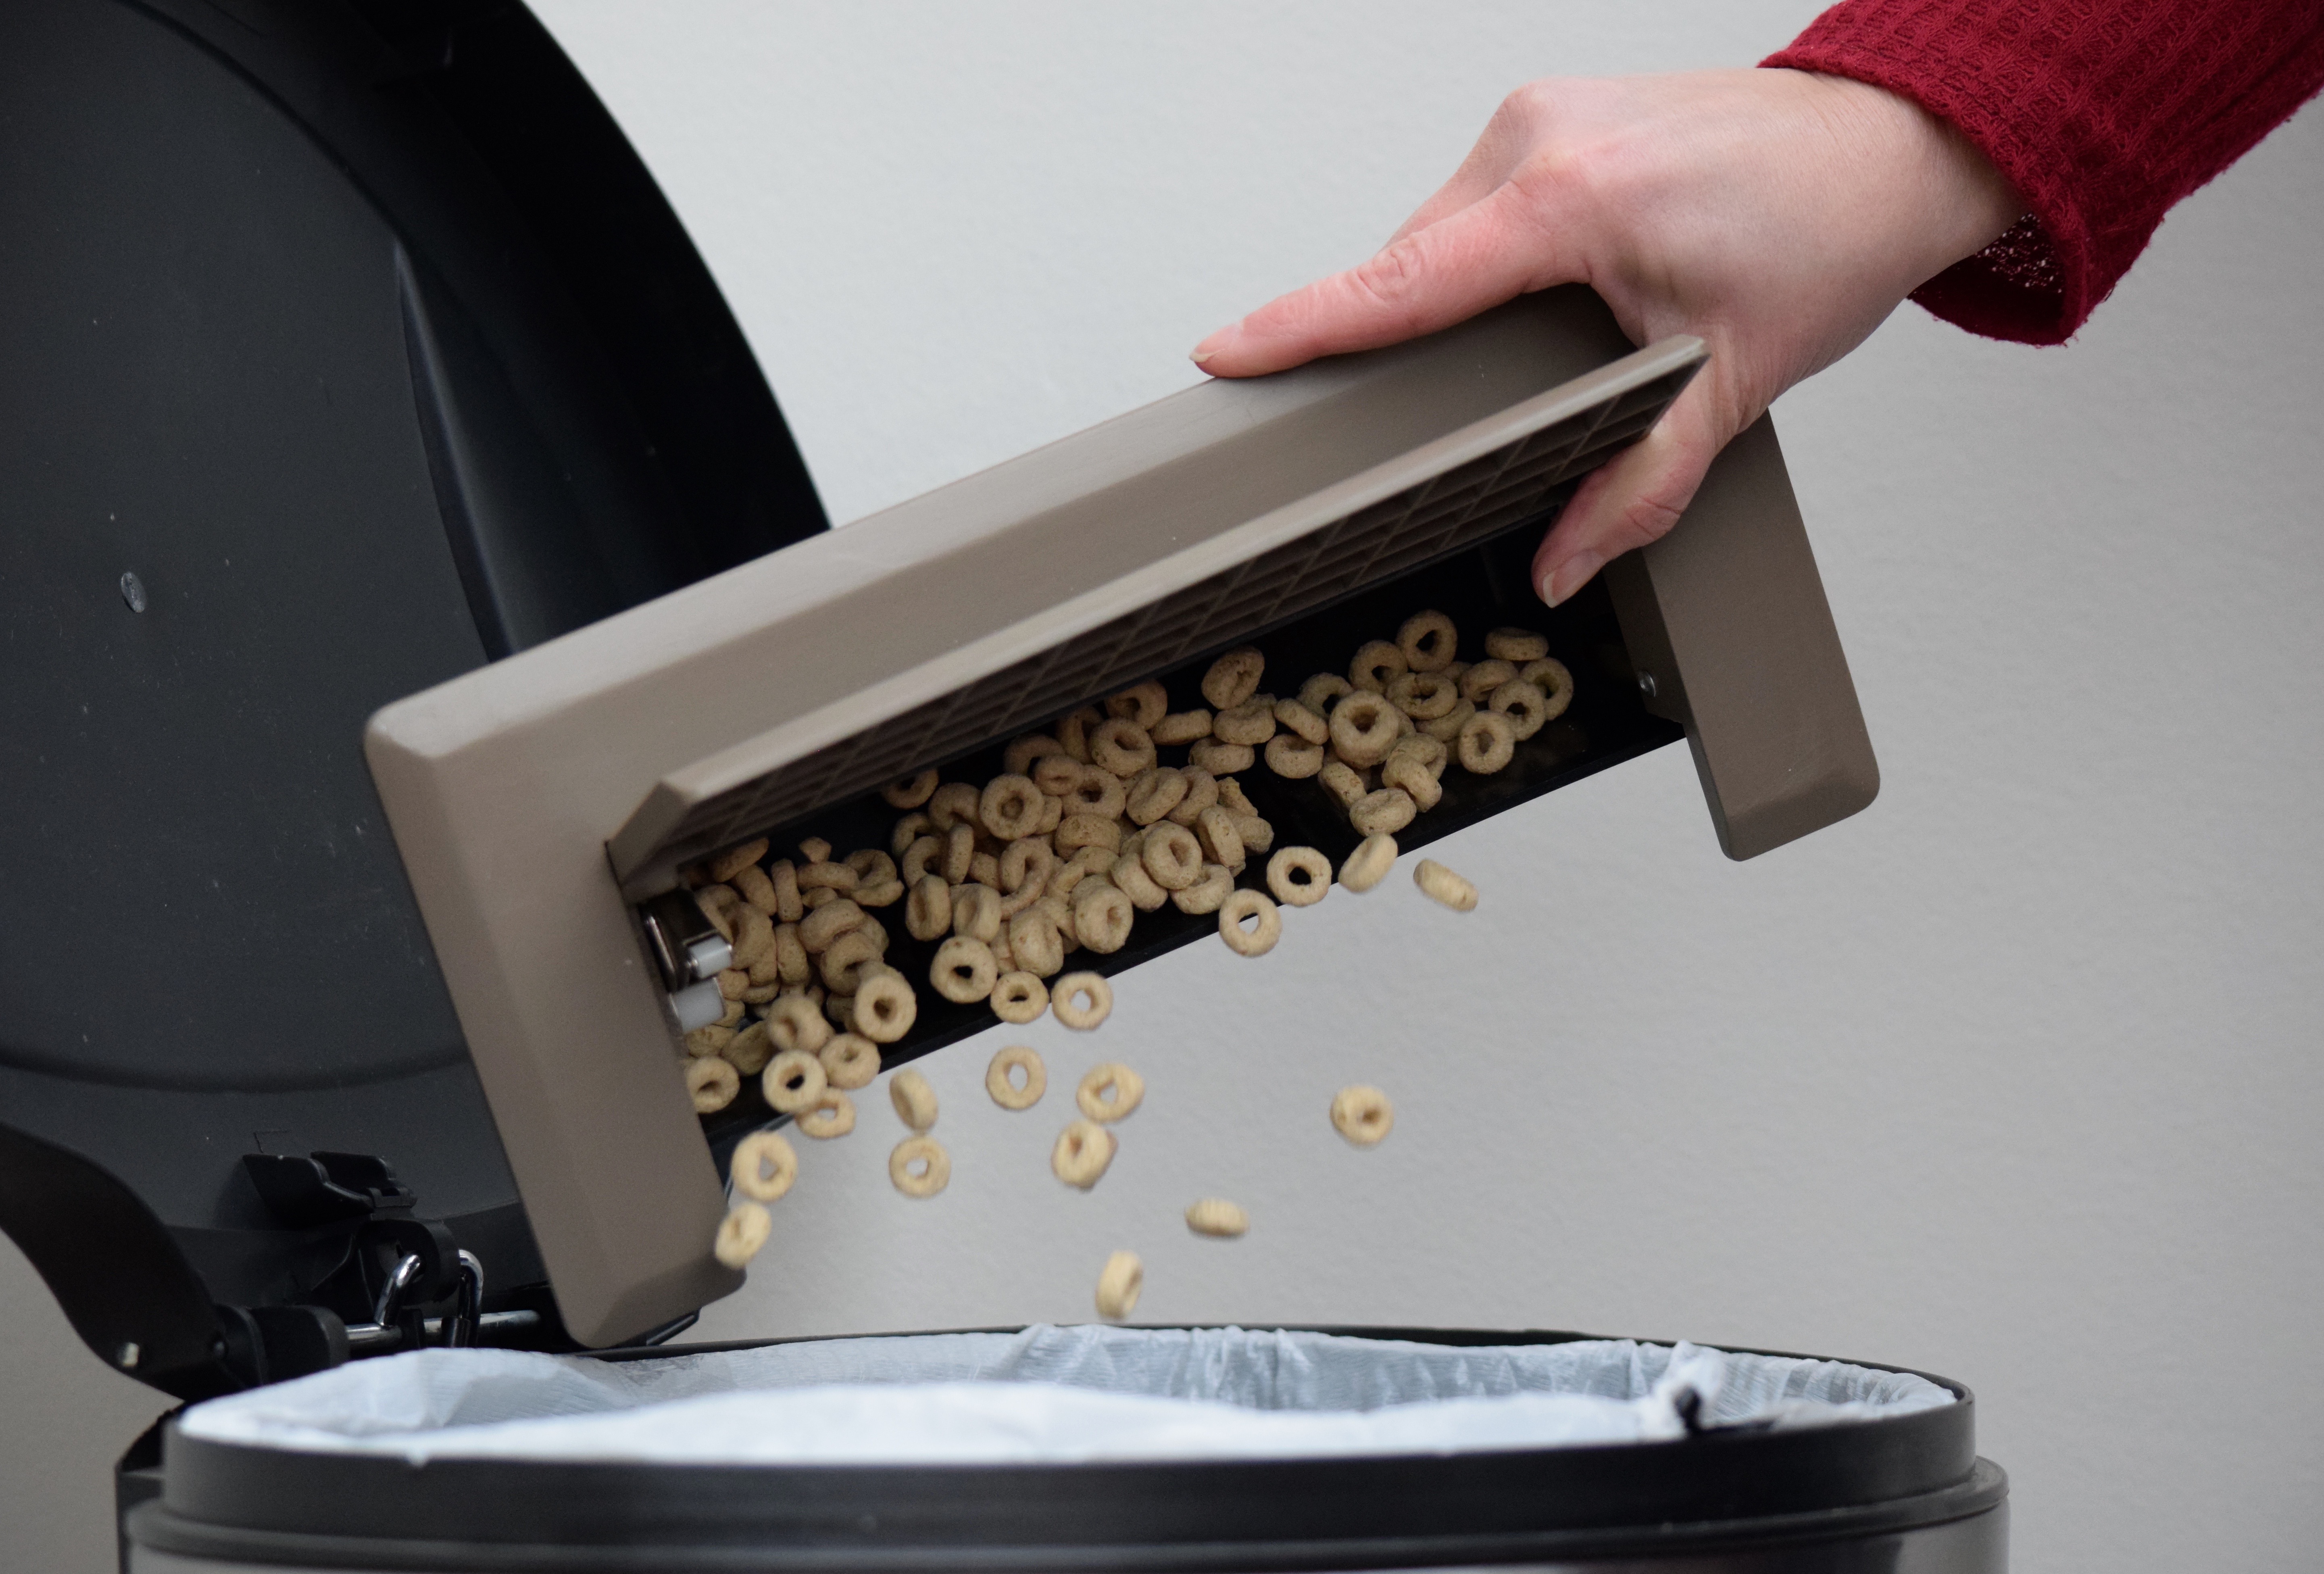
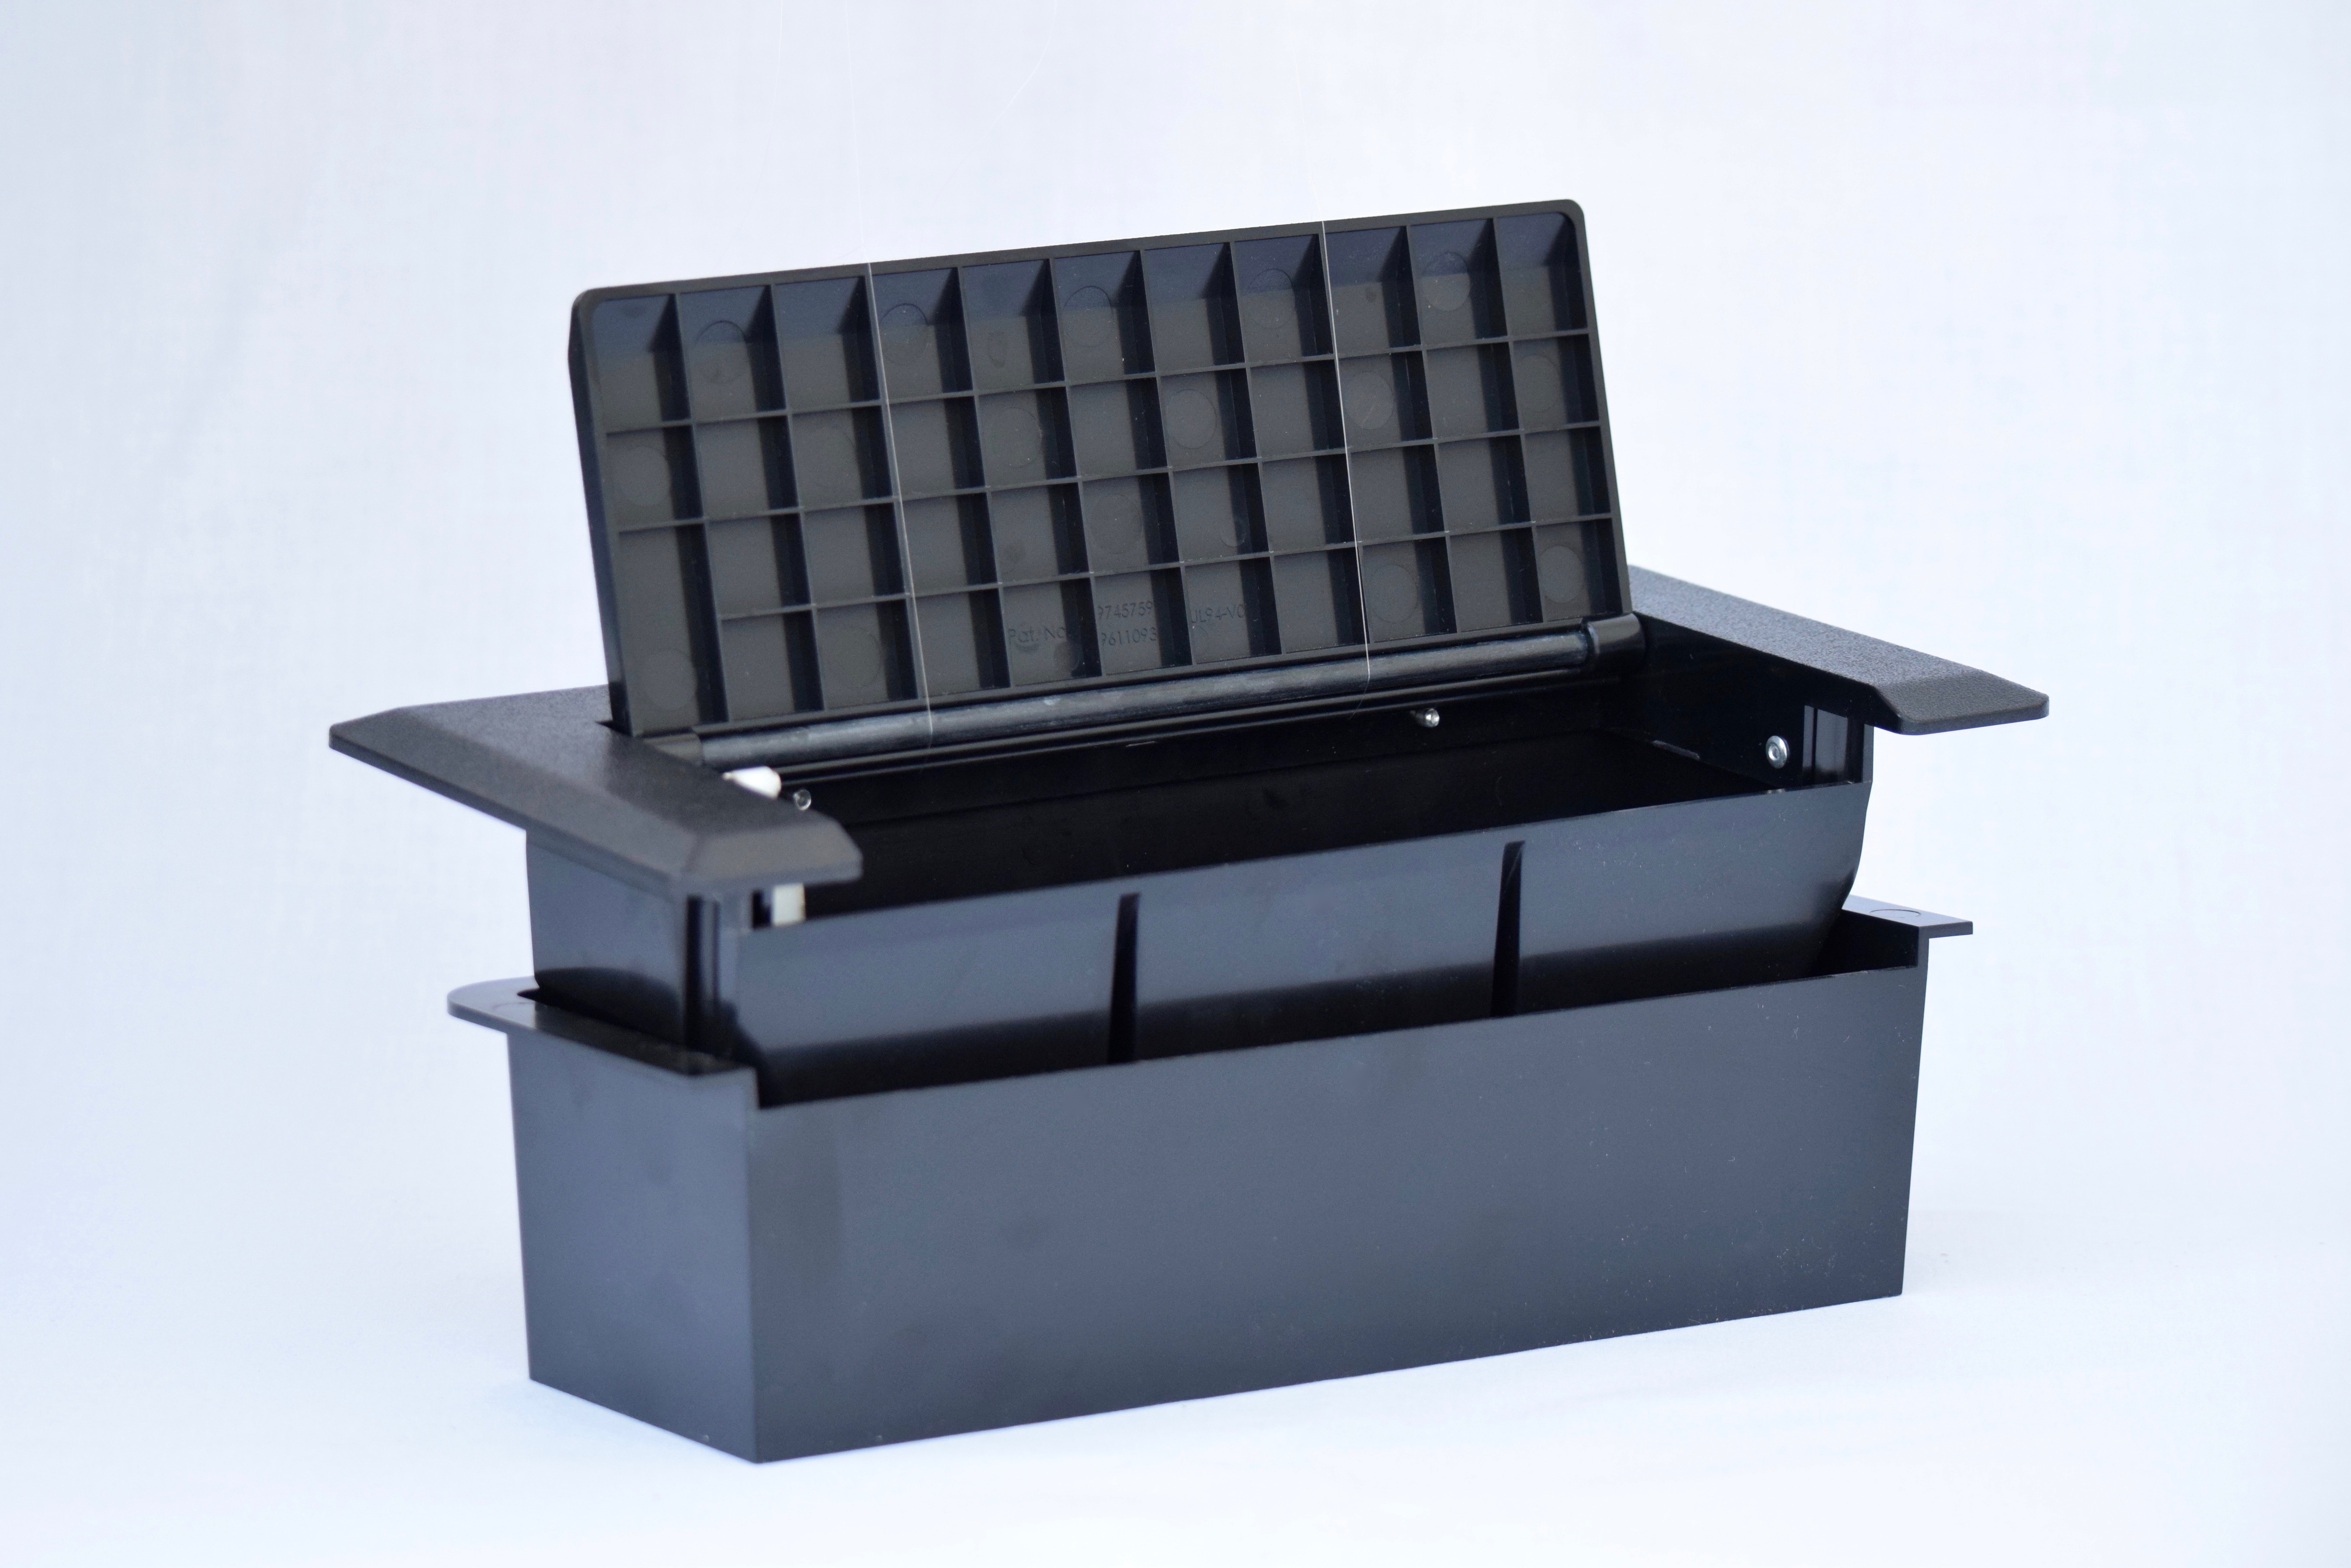
No more back-breaking work of sweeping and bending over—just tap the corner of the lid with your foot, and sweep debris away! Never again do the “dust pan dance” when trying to get that last line of dust and debris that doesn't ever seem to be able to be swept up with a dustpan and broom—the Skampcan has no obstruction and allows every last speck of debris to fall effortlessly into the container! With a Skampcan, you simply step on the lid to open, sweep dust and debris from your floor into the container, step on the lid again to close, and remove to empty when full. Our product is ideal for all ages, but especially convenient for elderly adults or individuals with limited mobility when attempting to bend down, like when sweeping. It's perfect for use in your kitchen, laundry room, mudroom, entryway, pet area, workshop, work station, work bench, recreational vehicle, RV camper, horse trailer, work trailer, or installed near fireplaces and wood stoves. Installation: The Skampcan is designed for installation into your wood, tile, laminate, concrete, etc. subfloor using an in-floor liner that comes included. A general understanding of carpentry, and how to safely use power tools is required for installation. You will need a tape measure, a marker/pencil, and a saw will be required; also, if desired location has a tile/ceramic or other hard surface flooring, special cutting tools will be needed. Detailed installation instructions included with product. Emptying: Simply step on the lid to open, pull the Skampcan out of the in-floor liner, empty, then replace the can back into the in-floor liner, then step on the lid to close. Skampcan is an American-made product, produced by a family owned and operated business, while being assembled in Indiana, USA. Our Skampcans are environmentally friendly: no need for chemicals, excessive waste, bags, refills, or even dustpans! The dimensions of the Skampcan measures 11 5/8" X 5 1/8" X 2 5/8" deep.
Disclaimers:
a) Skamp Containment Systems warrants the high quality of construction and performance of our systems to the extent of replacement of the system or refund of the purchase price if the device is found to be defective not caused by misuse. We cannot warrant or be responsible for damages, if any, caused by improper installation of the system. If you do not feel comfortable installing the Skampcan into the floor please contact a trusted handyman, contractor, or someone with knowledge and skills in the use of power tools and a general understanding of construction methods.
b) While there is not way we are able to know the condition of the heating systems off all of our customers or warrant their performance with the use of our vented system, we have had heating and cooling professionals look into this, and the decrease in air flow was found to be small and of negligible affect to the overall performance of the heating system we tested. Should you have concerns in this regard, consult your heating and air professional about back pressure air flow in your home or RV.
The non-vented Skampcan will come with a separate liner that will need installed into your floor. The following instructions are to assist with the installation of the liner into a typical wood subfloor. A general understanding of carpentry and the safe use of power tools are required.
Materials/Tools required
• Tape measure
• Fine tip marker or pencil • Saw
• Tube of silicone or adhesive caulk
Note: Special cutting tools are required if the desired location has a tile/ceramic or other hard surface flooring.
1. Find desired location for Skampcan.
2. Check the location for possible obstructions such as floor joists, wiring or plumbing.
Adjust location if needed.
3. Place the Skampcan liner on top of the floor, with the tabs up, in the desired position.
Make sure it is square to adjacent wall, cabinets, work surface, etc.
4. Using the marker/pencil, trace around the bottom of the liner onto the floor.
5. Making sure to follow the lines drawn in the previous step, use a saw to cut all the
way through all of the flooring materials without overcutting the lines.
6. Test fit the liner into the hole. Adjust the hole if necessary.
7. Apply a bead of silicone or adhesive caulk to the underside of the tabs of the liner.
8. With the side of the liner with no tab towards the front of the cutout, carefully slide the liner
into the hole. Move the liner tight against the front edge of the cutout. Press the liner firmly
down to adhere it to the floor.
9. Clean off any excess silicone or caulk that pushes out around the edge of the liner per
manufacturer’s instructions.
10. Allow time for the adhesive to cure.
11. Slide the Skampcan into the liner.
12. Now you can clean up your mess using your newly installed Skampcan!
** You can also visit skampcan.com to watch our installation videos.Disclaimer:
(a) Skamp Containment Systems warrants the high quality of construction and performance of our systems to the extent of replacement of the system or refund of the purchase price if the device is found to be defective not caused by misuse. We cannot warrant or be responsible for damages, if any, caused by improper installation of the system. If you do not feel comfortable installing the Skampcan into the floor please contact a trusted handyman, contractor, or someone with knowledge and skills in the use of power tools and a general understanding of construction methods.
(b)While there is no way we are able to know the condition go the heating systems of all of our customers or warrant their performance with the use of our vented system, we have had heating an cooling professionals look into this, and the decrease in air flow was found to be small and of negligible affect to the overall performance of the heating system we tested. Should you have concerns in this regard, consult your heating and air professional about back pressure air flow in your home or RV.
There are no reviews yet, submit yours in the box provided.Submitting Your Review, Please WaitYour Review Has Been Submitted SuccessfullyAdd a review for Skampcan
You must include a title, rating, and message in your review.Your Review TitleYour RatingYour Review
Oops...
We're sorry but the page you're looking for is either deleted or renamed.
A proven, efficient containment system for your Home, RV, Camper or Business.......................Questions? Call 317.442.6699
U.S. Patent No. 9,745,759 U.S. Patent No. 9,611,093
2017 Skampcan |Designed By Hoosier Web Nerd
